 ultimate-guide
Rot Resistant Fencing: Project Management Guide
Table of Contents
- Why Rot Resistant Fencing Fails Without a Project Plan
- Rot Resistant Fence Materials Comparison: What Actually Lasts
- How to Prevent Fence Post Rot: The Critical Details
- Fence Installation Project Timeline: From Design to Completion
- Site Preparation and Soil-Specific Installation Techniques
- Permitting, Inspections, and Contractor Accountability
- Post-Installation Inspection Checklist and Preventative Maintenance
- Conclusion: Building a Fence That Outlasts the Contractor
- Frequently Asked Questions
Last Updated: September 7, 2026
Most fence failures aren't caused by bad materials. They're caused by a lack of planning. The best comprehensive project management from design to completion for rot resistant fencing treats the fence as a long-term asset, not a weekend chore. We've seen too many homeowners invest in premium cedar or vinyl only to watch it fail within a decade because the posts weren't protected and the soil wasn't assessed.
The gap between a fence that lasts 10 years and one that lasts 30 is rarely the material. It's the process. This guide covers the full lifecycle, including soil-specific installation and a post-installation inspection checklist.
Why Rot Resistant Fencing Fails Without a Project Plan
A fence rots from the ground up, and the ground is where most projects go wrong. Without a formal plan, posts get set too shallow, concrete footings drain poorly, and rot sets in silently below the grade line.
The failure pattern is predictable: homeowners pick a material, hire the lowest bidder, and skip the site assessment, often leading to full replacement within 5 to 7 years in high-moisture soil. A project plan forces decisions about drainage, post depth, and material selection before the auger breaks ground.
A structured plan also assigns accountability. Someone must own the permit, the inspection scheduling, and the quality checks. When that responsibility is vague, corners get cut.
Rot Resistant Fence Materials Comparison: What Actually Lasts
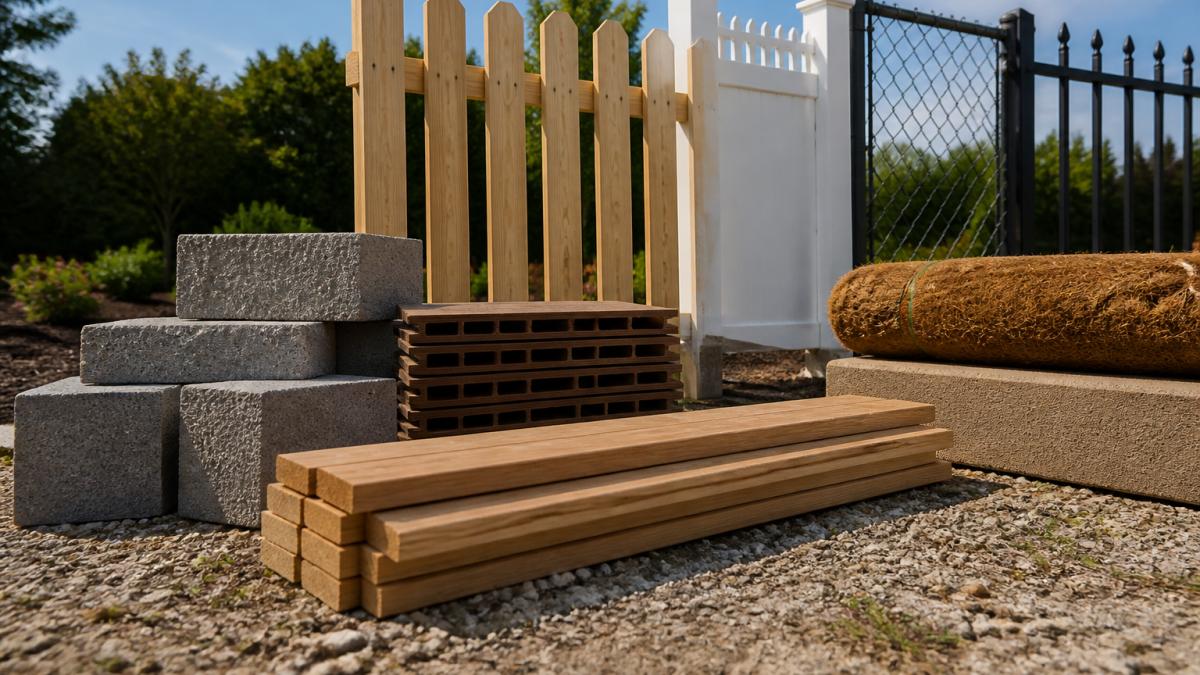
Choosing a rot resistant fence material is a trade-off between upfront cost, maintenance, and lifespan. There is no perfect material, only the right fit for your soil, climate, and budget. The table below summarizes the main categories.
| Material | Rot Resistance | Maintenance | Typical Lifespan | Best For |
|---|---|---|---|---|
| Cedar | Natural oils resist decay | Periodic staining | 15-20 years | Natural look, moderate budgets |
| Redwood | High natural decay resistance | Periodic sealing | 20-30 years | Premium natural aesthetic |
| Pressure-Treated Pine | Chemical treatment | Low | 15-20 years | Budget-friendly wood |
| Vinyl | Fully rot-proof | None | 25+ years | Zero-maintenance homeowners |
| Composite | Engineered resistance | None | 25-30 years | Eco-conscious buyers |
| Powder-Coated Steel | Immune to rot | None | 30+ years | Maximum security and longevity |
Natural Wood Options: Cedar and Redwood
Cedar and redwood are the classic choices for rot resistant fencing because their natural oils deter insects and decay. Cedar is the more affordable, with a warm tone that weathers to silver gray if left unstained. Redwood offers superior dimensional stability and decay resistance, which is why it commands a premium.
The catch is maintenance. Both woods need periodic sealing or staining to retain their color and slow moisture absorption. Ground contact is the killer: wood posts buried in soil are constantly exposed to moisture and microbes, which is why the rot resistance of the board matters less than the protection of the post.
Engineered Alternatives: Vinyl, Composite, and Steel
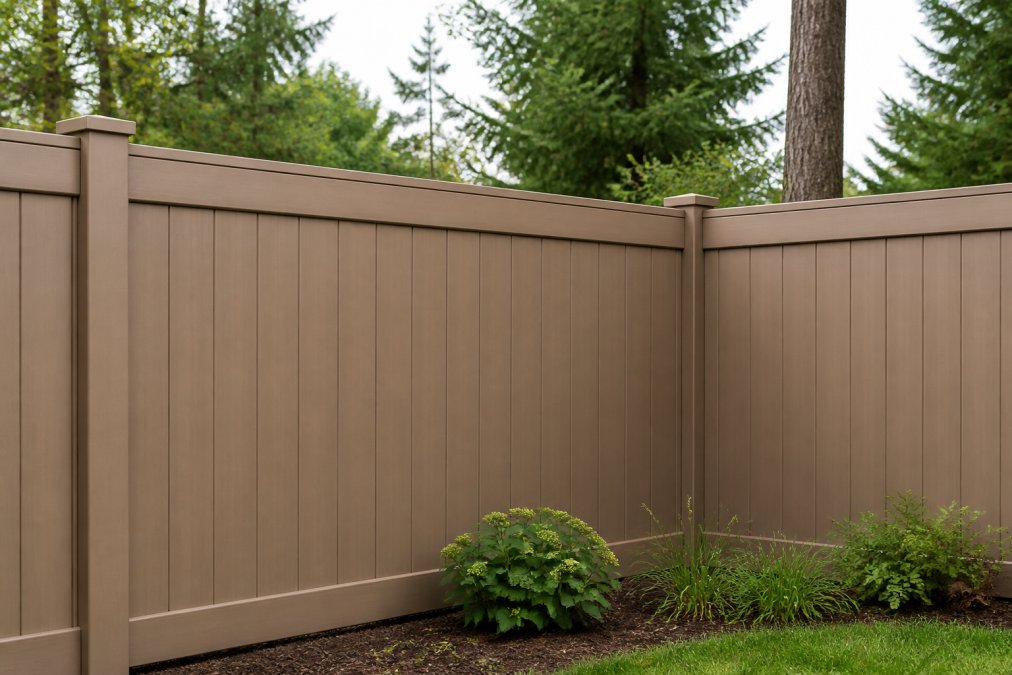
Vinyl fencing is essentially maintenance-free and completely immune to rot, cracking, and insect damage. It doesn't need painting, staining, or sealing, and it holds its color for decades. The trade-off is a higher upfront cost and a less natural look.
Composite fencing blends wood fiber with recycled plastic, giving you the texture of wood without the vulnerability to moisture. Steel fencing, particularly powder-coated steel, is the durability champion: immune to biological decay, handles high wind loads, and can exceed 30 years of service, though the protective coating must remain intact to prevent rust.
How to Prevent Fence Post Rot: The Critical Details
Fence post rot is the single most common cause of fence failure, and it's almost always preventable. The rot starts where the post meets the soil, a zone of constant moisture and microbial activity. The solution combines post guards, proper concrete footings, and attention to soil drainage.
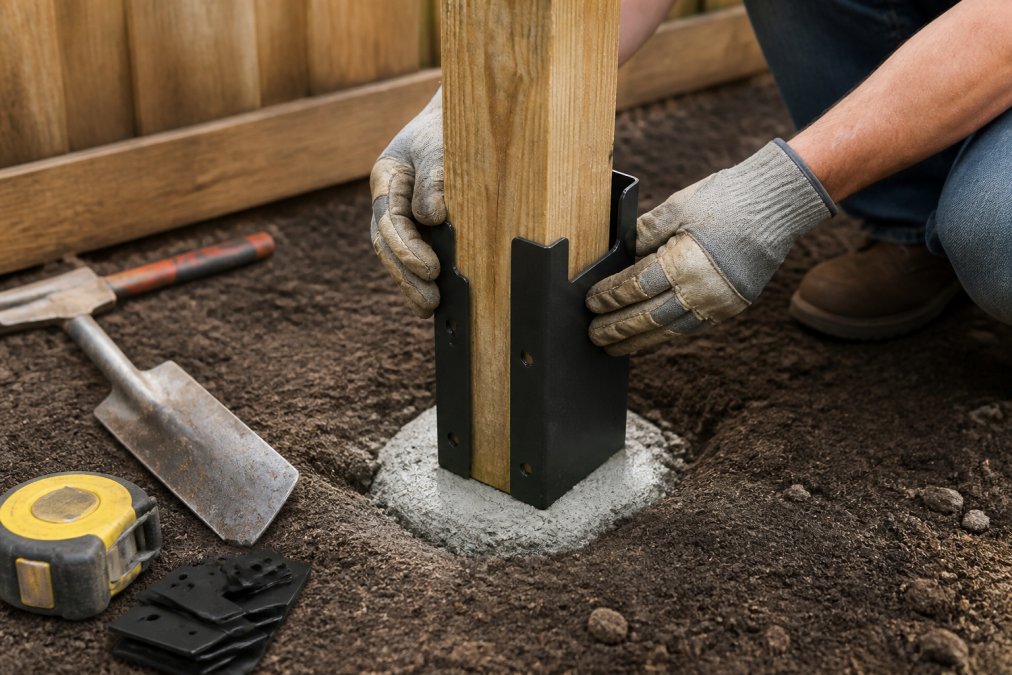
The first line of defense is a post guard, a protective sleeve that wraps the post at the ground line. One approach extends a wood fence's lifespan from 5-7 years to 15-20+ years by preventing ground-contact rot entirely. The guard creates a physical barrier between the wood and the soil, stopping moisture wicking and microbial attack.
Post Guards, Concrete Footings, and Soil Drainage
Set the post in a concrete footing that extends below the frost line, typically 24 to 36 inches deep depending on your region. The concrete should slope away from the post at the surface so water runs off rather than pooling against the wood.
Soil drainage is the hidden variable. In clay-heavy soil, water pools around footings and accelerates decay. If your site has poor drainage, consider a gravel base around the footing to direct water away. Pressure-treated posts rated for ground contact are a baseline requirement, but not a substitute for physical protection.
Fence Installation Project Timeline: From Design to Completion
A typical residential fence installation runs 2 to 4 weeks from contract to completion, but that timeline is optimistic without a clear plan for the regulatory and administrative work that happens before the first post hole is dug. This phase, permits, property lines, and HOA approvals, is where projects stall and budgets inflate.
Phase 0: The Regulatory and Administrative Phase (Week 1-2)
Before any design work, you must confirm what you're legally allowed to build. This 'red tape' phase separates a well-managed project from a costly mistake.
- Property Line Verification: A licensed land surveyor is non-negotiable. An average residential lot survey costs between $350 and $700, depending on your region and lot complexity. Skipping this step to save money is the most common cause of boundary disputes and forced fence removal. Your contract should specify that the survey is the authoritative reference for post placement.
- Municipal Permits: Fence permit requirements vary wildly by jurisdiction. Most municipalities require a permit for any fence over 6 feet in the backyard and 4 feet in the front yard, but local zoning codes can override these defaults (iccsafe.org). Contact your local building department or check their website for the specific application form. The permit fee is typically $50 to $150, but the fine for skipping it can be several times that, plus the cost of removal if the fence violates code.
- HOA Approvals: If you live in a community with a homeowners association, review the Covenants, Conditions, and Restrictions (CC&Rs) before you buy materials. Many HOAs restrict fence height, material, and color. Some require a formal application with architectural drawings, which can take 2 to 4 weeks to process. Submitting this application on day one prevents a situation where you've already paid for materials that the HOA won't approve.
- Utility Locates: Call 811 at least 3 business days before any digging (call811.com). This is a free federal service that dispatches local utility companies to mark underground lines. The marks are valid for a limited time (often 10-14 days), so coordinate this with your actual installation start date. Hitting a gas line or fiber optic cable is not just a project delay, it's a safety hazard and a liability issue.
Phase 1: Design and Material Specification (Week 2-3)
Once the regulatory constraints are known, the design phase can proceed with confidence. This is where you finalize the rot-resistant material, post-protection strategy, and gate placement. The design should be documented in a written scope of work that includes:
- Exact material grade and treatment level (e.g., 'Ground Contact' rated pressure-treated posts)
- Post spacing (typically 6-8 feet on center)
- Post hole depth and diameter (which must account for your local frost line)
- The specific post guard system to be used at the soil-to-post interface
- Hardware specifications (galvanized or stainless steel)
Phase 2: Installation (Week 3-4)
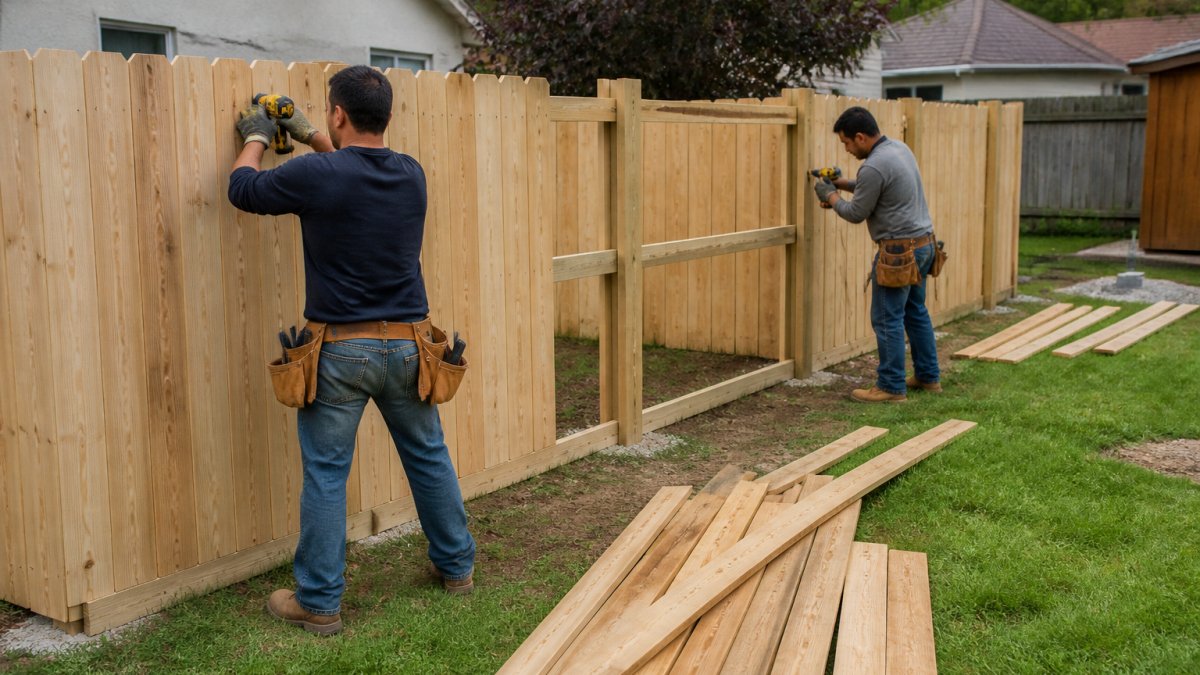
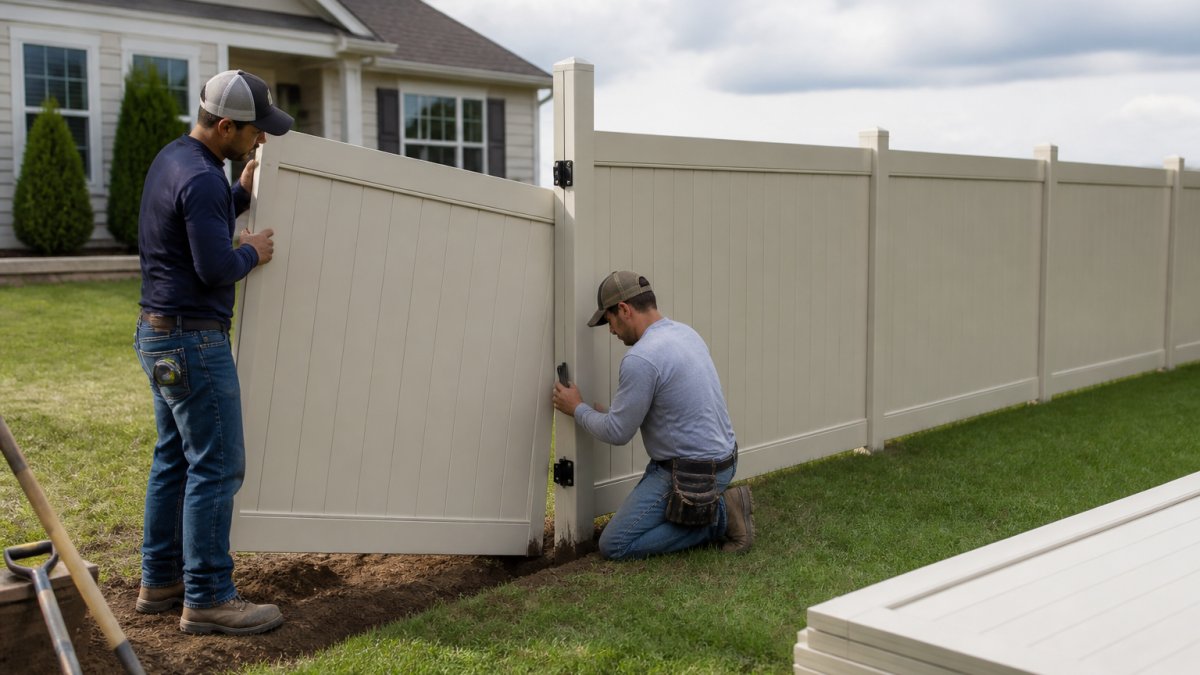
With permits in hand and utilities located, the physical installation is the fastest phase. A crew of two to three can typically set posts, hang panels, and install gates in 3 to 5 days for a standard 150-foot lot. The key is that the schedule was not compressed by regulatory delays, rushing the concrete cure time or post-setting process is a recipe for premature rot.
Phase 3: Inspection and Final Walkthrough (Week 4)
This phase is where project management discipline pays off. Your contract should specify that the final payment is contingent on passing all required municipal inspections and a joint walkthrough. Use the Post-Installation Inspection Checklist in this guide to verify the work before you sign off.
Site Preparation and Soil-Specific Installation Techniques
Proper site preparation determines whether your rot-resistant fencing survives its first decade. The single most important factor is not the fence board, it's the 'soil-to-post interface,' the zone where the post meets the ground. This is where rot begins, and the engineering of this interface must be tailored to your specific soil chemistry and drainage characteristics.
The Soil-to-Post Interface: A Primer on Rot Mechanics
Wood rot is caused by fungi that require three conditions: moisture, oxygen, and a food source (the wood) (fs.usda.gov). Your goal in site preparation is to eliminate at least one of these conditions at the ground line. The most effective way is to create a physical barrier and manage drainage so the soil at the post base is never consistently saturated.
Soil pH and Its Impact on Wood and Concrete
Most homeowners never consider soil pH, but it directly affects the lifespan of both the post and the concrete footing.
- Acidic Soil (pH below 6.0): Common in regions with heavy rainfall and pine forests. Acidic soil accelerates the breakdown of natural wood oils and can corrode galvanized fasteners over time. For pressure-treated posts, acidic soil can also increase the rate at which the chemical preservative leaches out.
- Alkaline Soil (pH above 7.5): Common in arid and semi-arid regions. Alkaline soil can react with the cement in concrete footings, causing a chemical reaction that can soften the concrete surface over decades. More importantly, alkaline soil with poor drainage often creates a 'bathtub effect' around the post base, trapping moisture.
Practical Response: Before installation, purchase a simple soil pH test kit from a local garden center (under $15). If your soil is highly acidic (pH below 5.5), consider using a post guard that creates a complete physical barrier, as the chemical treatment in wood will be less effective over a 20-year horizon. If your soil is alkaline and clay-heavy, prioritize drainage solutions over chemical treatments.
Drainage Engineering: Matching the Technique to the Soil
The standard advice, 'set posts in concrete', is incomplete. The concrete footing must be designed to shed water away from the post, not trap it. The correct technique depends on your soil's drainage class.
| Soil Type | Drainage Characteristic | Recommended Installation Technique | Why It Works |
|---|---|---|---|
| Sandy / Gravelly | Excellent drainage, low water retention | Standard concrete footing, 24-30 inches deep. No gravel bed needed. | Water drains away naturally; the primary risk is lateral movement, not rot. |
| Loam | Moderate drainage, good balance | Concrete footing with a 2-inch gravel bed at the bottom of the hole. | The gravel bed provides a drainage path for any water that seeps down the post, preventing it from pooling at the base of the concrete. |
| Clay | Poor drainage, high water retention, expands when wet | Concrete footing with a 4-6 inch gravel bed at the bottom AND a gravel 'collar' around the top of the footing at the surface. | The bottom gravel prevents water from pooling under the concrete. The surface collar directs surface water away from the post, preventing the 'bathtub effect' where water sits against the wood at the ground line. |
| Peat / Organic | Very poor drainage, acidic, high microbial activity | Consider a steel or vinyl post instead of wood. If wood is required, use a full-height post guard sleeve and a wide concrete footing (12-inch diameter minimum). | The high microbial activity in organic soil will overwhelm even pressure-treated wood over time. A physical barrier is the only reliable defense. |
The 'Bathtub Effect' and the Concrete Dome
A common installation error is pouring the concrete footing flush with the surrounding grade, creating a flat, saucer-like surface. When it rains, water pools on this surface and sits directly against the wood post. This is the 'bathtub effect,' a primary cause of premature rot at the ground line.
The correct technique is to slope the top of the concrete footing away from the post, creating a small dome or crown. This forces water to run off the concrete and into the surrounding soil, away from the post. The slope should be at least 1/4 inch per foot of footing diameter.
Frost Heave Considerations
In regions with freezing winters, the frost line dictates the minimum post depth. Setting posts below the frost line (typically 24-36 inches in the northern tier of the U.S.) prevents frost heave, where the soil expands and pushes the post upward. The gravel bed at the bottom of the footing serves a dual purpose: it provides drainage and creates a 'slip layer' that reduces the upward force of the freezing soil on the concrete.
Permitting, Inspections, and Contractor Accountability
Fence permits are local, and the rules vary widely by municipality. Many areas require a permit for any fence over a certain height, and most require a property line survey before installation. Skipping the permit can result in fines and forced removal, so verify requirements with your local building department before signing a contract.
Inspections are your quality checkpoint. A reputable contractor schedules the required inspections and corrects any deficiencies before the final walkthrough. This is the point where you verify that posts are set at the agreed depth, that post guards are installed, and that the material matches the spec.
Contractor accountability comes down to the contract itself. Confirm that the contractor is licensed, insured, and bonded, and that the scope of work is explicit. A turnkey contractor who manages the entire project, from permit to final inspection, removes the burden of coordinating multiple parties.
Post-Installation Inspection Checklist and Preventative Maintenance
The final walkthrough is not the end of the project; it's the beginning of the fence's service life. Use a structured checklist to verify the installation before making the final payment.
- Posts are plumb and set at the agreed depth, with post guards installed at the ground line
- Concrete footings slope away from the posts to shed water
- Panels are level and gaps between boards are consistent
- Gate swings freely and latches without binding
- All hardware is galvanized or stainless steel to prevent corrosion
- The property line is respected and any required inspections are signed off
Preventative maintenance extends the life of any fence. For wood, inspect the base of each post annually for signs of decay, and refresh the sealant or stain every 2 to 3 years. For vinyl and composite, a simple wash with soap and water keeps the surface clean. For steel, check the powder coating for chips or scratches that could expose the metal to rust.
Conclusion: Building a Fence That Outlasts the Contractor
The best comprehensive project management from design to completion for rot resistant fencing is the difference between a fence you replace and a fence you inherit. The planning effort is small compared to the cost of a premature replacement, and the details, post guards, soil drainage, permitting, and inspection, are where longevity is won.
Fence Company Lincoln, a trusted family-owned and operated business with over 30 years of experience, provides expert fence installation and repair services for both residential and commercial properties. We deliver high-quality craftsmanship using vinyl, wood, chain link, and iron materials, managing every project from design to completion without subcontractors to ensure personalized service and secure job sites. Our fully licensed, insured, and bonded professionals are committed to durable, expertly installed fencing solutions, even offering a price matching policy against competitors to guarantee value. Trust us to secure your space with confidence and a reliable, approachable approach.
Frequently Asked Questions
What is the best wood fence design for longevity?
The best wood fence design for longevity starts below ground. Set posts in concrete footings that extend above the soil line to create a moisture barrier. Use a post guard or rot-resistant wrap at ground contact. Choose cedar or redwood for natural decay resistance, and keep boards at least 2 inches off the soil. A design that allows airflow around the post base will outlast one that traps moisture.
How does professional project management extend the life of a fence?
Professional project management extends fence life by controlling the details that cause premature failure. A single point of accountability means the same team handles site assessment, soil drainage planning, post-setting, and hardware installation. Without subcontractors, there are no gaps between crews where mistakes happen. A managed project also includes a post-installation inspection checklist to catch issues before they become structural problems.
What design features prevent wood fence rot?
Several design features prevent wood fence rot. The most important is keeping wood out of direct ground contact. Use concrete footings with a slight rise above grade. Add a post guard or moisture barrier at the base. Slope the top of concrete away from the post so water does not pool. Choose rot-resistant species like cedar or redwood, and use stainless steel or galvanized hardware to prevent corrosion that traps moisture.
Why is it important to avoid subcontractors for fence installation?
Avoiding subcontractors matters because it creates a single point of accountability for the entire project. When a company subcontracts, the homeowner becomes the coordinator between crews. If the post-setting crew leaves and the framing crew finds a problem, resolving it takes time and often costs extra. A company that uses its own employees ensures consistent quality standards and backs their work with a warranty.
What are the signs of a high-quality, rot-resistant fence installation?
High-quality rot-resistant installations share clear signs. Posts sit in concrete footings that rise above the soil line. Post guards or moisture barriers protect the ground-contact zone. The fence line is straight, and gates close without sagging. The contractor provides a post-installation inspection checklist and explains the preventative maintenance schedule. Ask to see the post-setting process before concrete is poured.
How do I evaluate a fencing contractor's project management process?
Ask specific questions about their process. Who conducts the site assessment and soil drainage check? Who pulls the permits? Does the same crew handle the project from design to completion, or are subcontractors involved? What does the installation timeline look like? A contractor with a defined project lifecycle will answer clearly. If they cannot explain their process, expect problems during installation.