 how-to
How to Secure a Perimeter with Anti-Climb Fencing
Table of Contents
- Introduction to Anti-Climb Fencing and Perimeter Security
- Step 1: Assess Your Site Risk and Security Requirements
- Step 2: Choose the Right Anti-Climb Fence Specification
- Step 3: Prepare for Anti-Climb Fence Installation
- Step 4: Install Anti-Climb Fence Panels and Posts
- Step 5: Secure Fence Gaps, Gates, and Weak Points
- Step 6: Conduct Regular Perimeter Fence Inspection and Maintenance
- Step 7: Layer Anti-Climb Fencing with Detection and Deterrents
- Frequently Asked Questions
Last Updated: October 12, 2026
Introduction to Anti-Climb Fencing and Perimeter Security
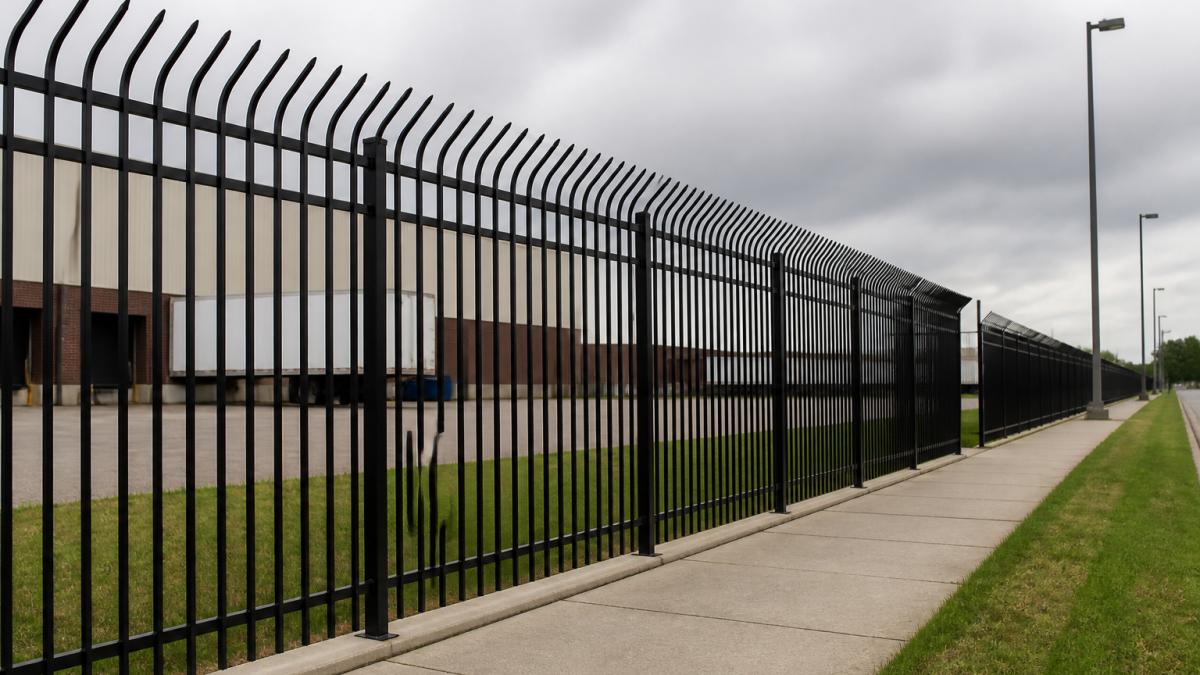
Anti-climb fencing is a security barrier designed so no one can get a handhold or foothold on it. Tight wire spacing and a smooth surface make climbing nearly impossible.
This guide from Fence Company Lincoln covers how to secure a perimeter with anti-climb fencing, step by step. We have installed and repaired fencing for over 30 years.
Most break-ins start at the weakest point of a fence line.
Step 1: Assess Your Site Risk and Security Requirements
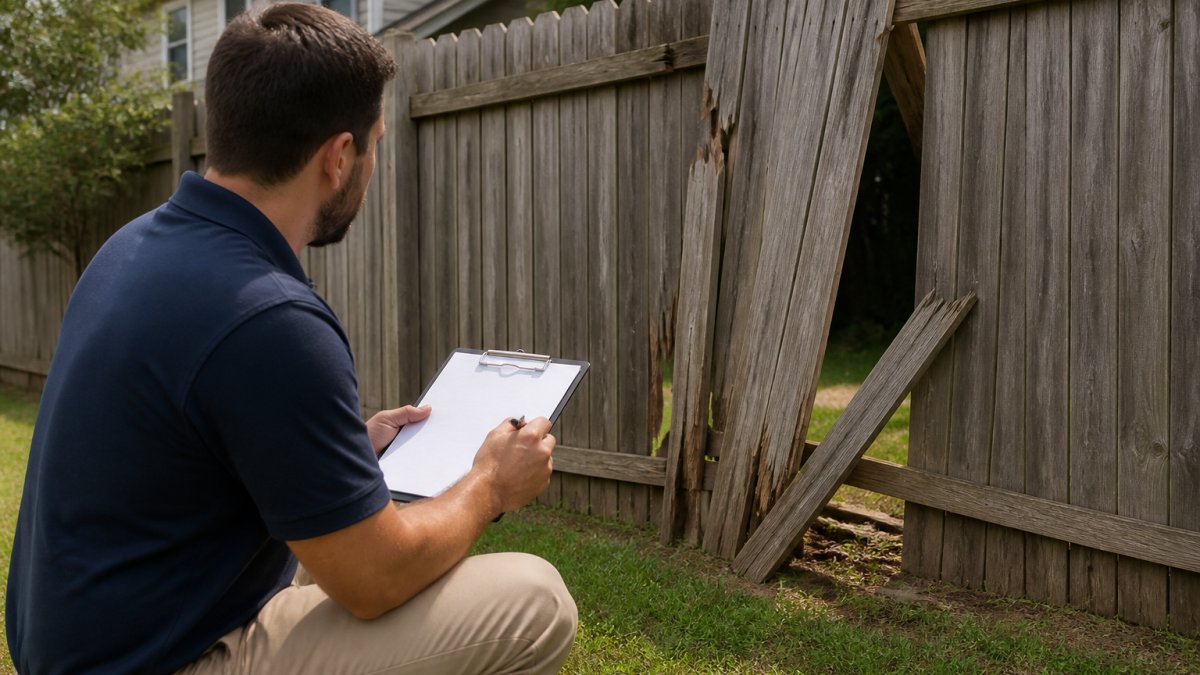
Walk the property before you buy anything to find every spot where someone could climb, cut, or slip through.
A common mistake is buying panels first and measuring later, which leads to gaps at corners and mismatched posts.
Ask three questions:
- What are you protecting? Tools, inventory, vehicles, or people?
- Who is the likely threat? Casual trespassers or prepared intruders?
- How much time does a guard or camera need to respond?
Identifying Vulnerable Points and Climbing Aids
Look for anything near the fence that acts as a ladder. Dumpsters, stacked pallets, trees, and low roofs all give a boost over the top.
Check these weak points:
- Corners and inside angles, where panels often leave small gaps
- Gates, especially sliding gates with exposed tracks
- Drainage culverts and low spots under the fence line
Write down each weak point and its risk level. This list drives every choice in the next two steps.
Step 2: Choose the Right Anti-Climb Fence Specification
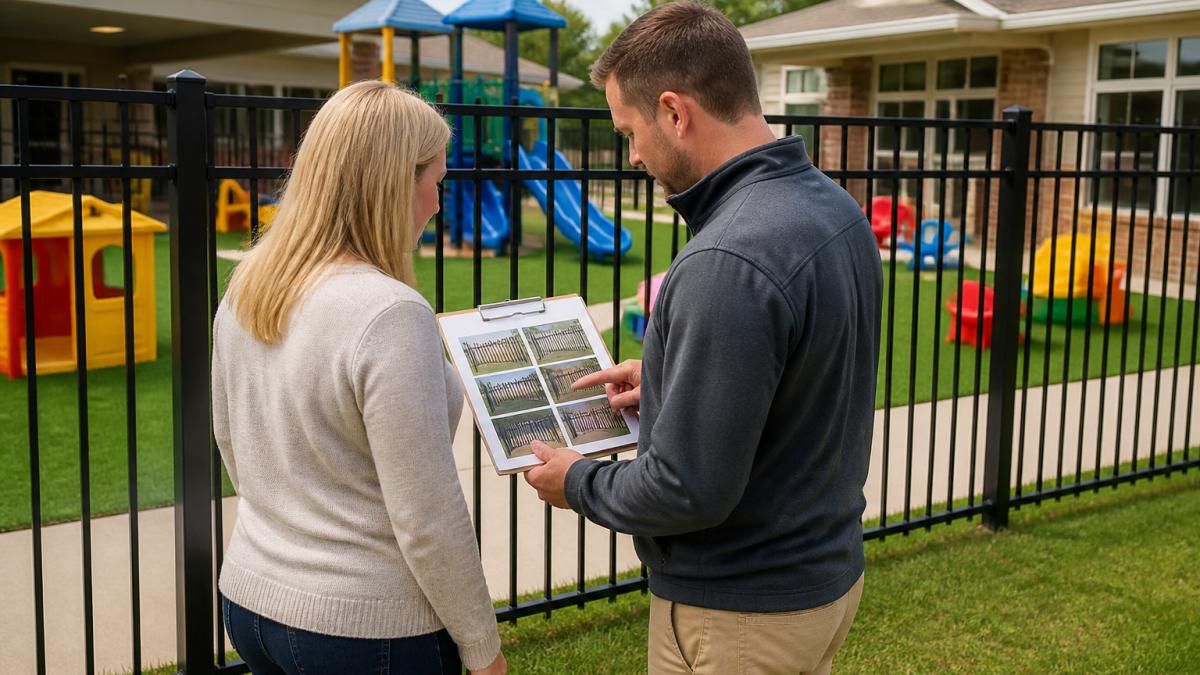
The right specification comes from your risk list, not a catalog. Match the fence to the threat, site, and budget: overbuilt wastes money, underbuilt fails the first time someone tries.
Assign each zone a risk tier based on the three questions from Step 1, then match the specification to the tier.
| Risk Tier | Typical Site | Recommended Height | Mesh | Coating |
|---|---|---|---|---|
| Low | Storage yards, vacant lots, residential boundaries | 6 ft (1.8 m) | 2 in x 4 in welded wire | Galvanized |
| Moderate | Commercial yards, retail back-of-house, light industrial | 7 ft (2.1 m) | 2 in x 2 in welded wire or light 358 | Galvanized plus powder coat |
| High | Warehouses, utilities, data centers, schools | 8 ft (2.4 m) | 358 mesh (3 in x 0.5 in) | Galvanized plus powder coat |
| Critical | Substations, correctional, government, chemical storage | 10 ft (3 m) or taller with top guard | 358 mesh, double-layer at base | Hot-dip galvanized plus powder coat |
These tiers are starting points, not rules. A low-risk yard next to a highway overpass may need a higher tier, while a high-risk site with a 24-hour guard and full camera coverage may accept a lower one.
Understanding 358 Mesh and Aperture Size
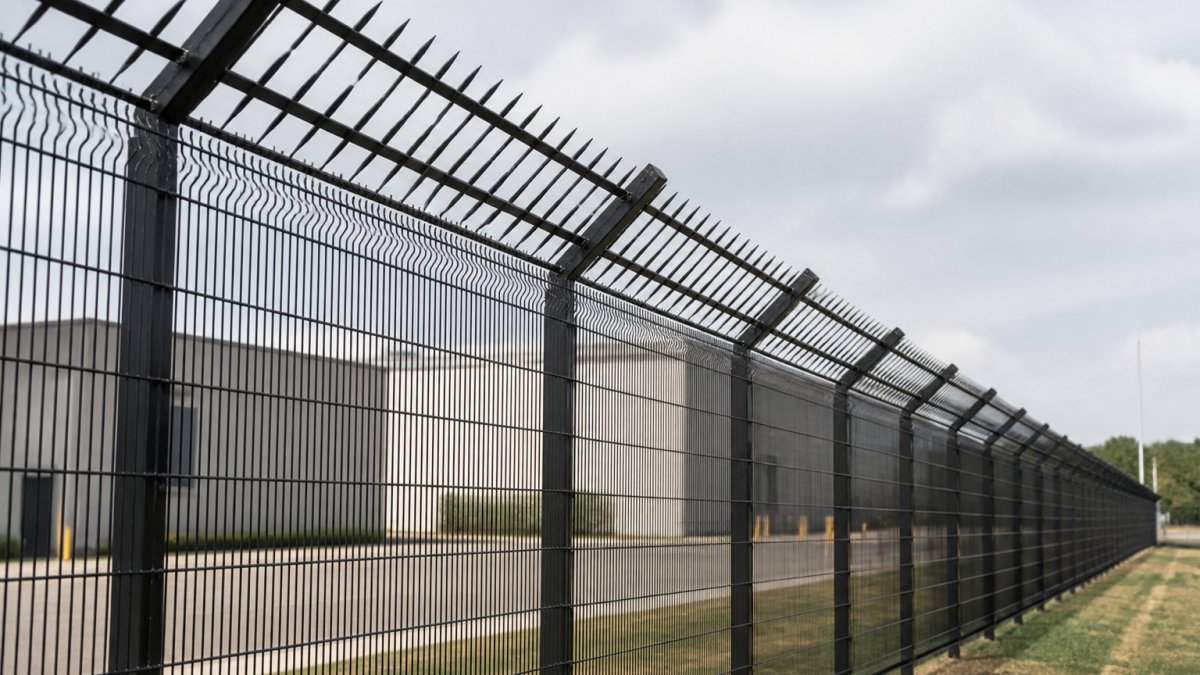
A 358 security fence takes its name from its mesh size: 3-inch by 0.5-inch apertures (roughly 76 mm by 12.7 mm).
Wire spacing is the key number: small apertures stop climbing and slow cutting tools, while wide mesh invites both.
When comparing quotes, ask for aperture size in inches and millimeters, wire gauge, and panel dimensions. A quote listing only "anti-climb mesh" is not specific enough to compare.
Fence Height, Materials, and Corrosion Resistance
Height sets the security level: 6 ft (1.8 m) stops casual climbers, 7 ft (2.1 m) deters most opportunists, and 8 ft (2.4 m) with a top guard deters more determined intruders.
Steel panels need a coating to survive decades outdoors. Galvanizing protects the wire, and powder coating adds color and another layer against rust.
Ask about both coatings before you buy; a single thin coat fails at cut edges and welds. In coastal or high-humidity areas, specify a heavier zinc coating and confirm it in writing.
Matching Specification to Threat and Response Time
Specification is about how long the fence must delay an intruder for your response to arrive.
- If a guard or police can respond in under five minutes, a moderate fence plus detection is often enough.
- If response takes 15 minutes or more, you need a higher tier, because the fence must buy more time.
- If the site is unoccupied overnight, the fence must delay long enough for a remote monitoring center to verify and dispatch.
Write the response time next to each risk zone; that number tells you what to buy more than any brochure.
Ask your supplier for a written specification sheet that lists aperture size, wire gauge, panel height, post spacing, coating type, and coating weight. Keep it with your inspection log so future repairs match the original specification.
Step 3: Prepare for Anti-Climb Fence Installation
Good preparation decides how long the install takes and how well it holds up. Sort out tools, materials, and permits before the first post goes in.
Tools and materials:
- Post-hole digger or auger
- Concrete mix for post footings
- Spirit level and string line
Permits and checks:
- Confirm your property line with a survey before digging
- Call 811 before you dig to mark underground utilities
- Check local height and setback rules for fences
The 811 service is free and required in most states. Hitting a gas or power line is dangerous and expensive.
The most common cause of a failed fence install is a rushed layout. Set string lines and confirm post spacing before you dig a single hole.
Step 4: Install Anti-Climb Fence Panels and Posts
Installation follows a fixed order: posts, then panels, then gates. That sequence keeps the fence line straight and the panels square.
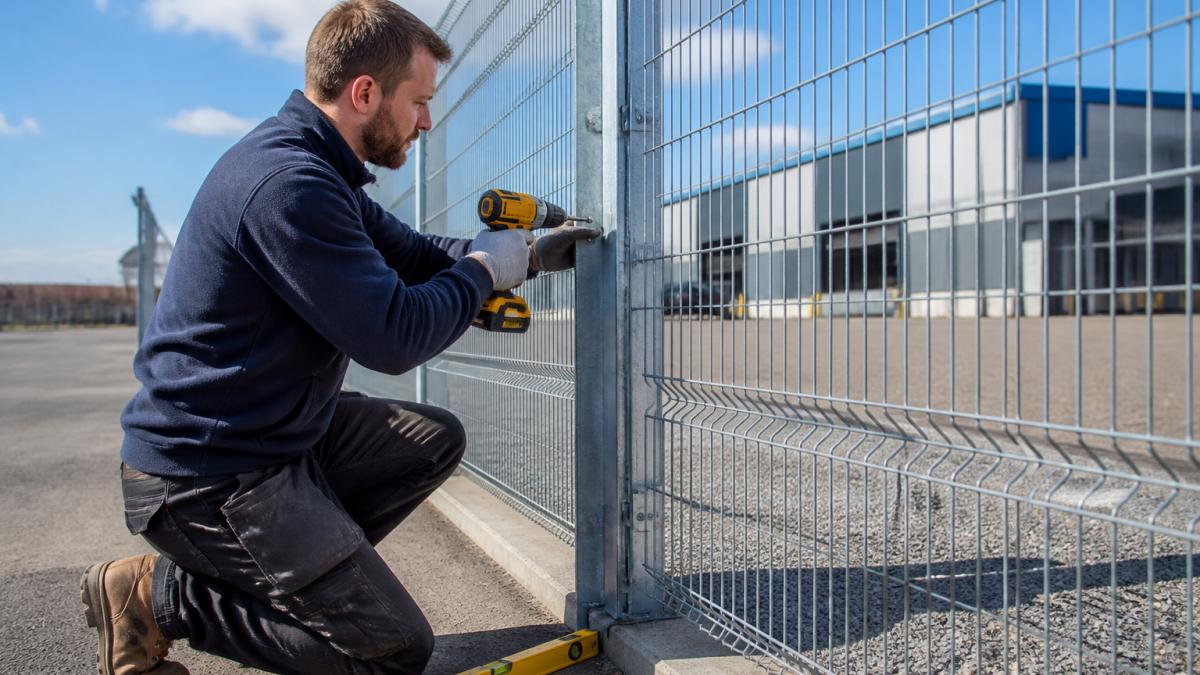
Post Setting, Panel Alignment, and Fixings
Set posts at the spacing the panel width requires. Dig each hole below the frost line so the post does not shift with the seasons.
For each post:
- Dig the hole to depth and width.
- Set the post and check it with a level.
- Brace the post, then pour concrete.
- Let the concrete cure before hanging panels.
Line up the first panel and clamp it to the post. Check it for level, then bolt it in place. Use security bolts or tamper-proof fixings so no one can unbolt a panel from outside.
Step 5: Secure Fence Gaps, Gates, and Weak Points
A fence is only as strong as its gaps. A perfect panel line with a loose gate is an open door, and most breaches happen where the fence changes direction, changes material, or meets the ground.
Walk the full fence line after install and fix any opening wider than your fist before calling the job done. Re-walk it monthly, because ground settles, gates sag, and new gaps appear.
Gates: The Most Common Breach Point
Gates take more force and use than any other part of the fence, so they fail first. Treat every gate as its own small security project.
- Match the gate frame material and mesh to the fence. A chain link gate in a 358 fence line is a weak link.
- Use the same anti-climb mesh in the gate leaf, with no larger aperture than the fence panels.
- Fit hinges that cannot be lifted off their pins from the outside. A drop rod or ground stop prevents the gate from being lifted off its hinges.
After any gate adjustment, re-check the latch, the drop rod, and the bottom gap. A gate that latches but does not sit flush is still a gap.
Corners, Angles, and Panel Joints
Corners and inside angles often leave small gaps because post spacing does not divide evenly. Do not fill them with wire ties or loose mesh; use a corner post sized for the load and cut or order panels so the mesh runs continuously around the corner.
At panel joints, use the manufacturer's joining brackets and security bolts; wire or zip ties separate under pressure. Check every joint for alignment, since an out-of-square panel leaves a diagonal gap that is easy to exploit.
Ground Changes, Slopes, and Drainage Openings
Ground sloping away from the fence leaves a gap under the bottom rail, while ground sloping toward it can bury the rail and create a step for climbing.
- On slopes, step the panels or use a racked panel so the bottom rail follows the ground within a few inches.
- Where the ground drops, extend the mesh or add a bottom rail extension so the gap stays under a few inches.
- At drainage culverts and low spots, use a welded mesh grate or a concrete sill rather than leaving an open channel. An opening large enough for a person is a door.
Transitions to Buildings and Existing Fences
Where a new anti-climb fence meets an existing fence, wall, or building is often the weakest point on the property, because the two systems were not designed together and the joint is improvised.
- At a building, run the fence into the wall or use a purpose-made wall bracket so there is no gap between the last panel and the structure.
- At an existing fence, overlap the two systems by at least one panel width and bolt them together, rather than butting them end to end.
- At a change in height, use a transition panel or a stepped post so the top of the fence does not drop to a climbable height.
A Simple Gap Check
After install and at every inspection, walk the line and check these five things:
- No opening wider than a fist anywhere along the bottom, top, or sides.
- Every gate latches, sits flush, and cannot be lifted off its hinges.
- Every panel joint is bolted, not tied.
- Every corner and transition is closed with a purpose-made fitting.
- No new climbing aids within arm's reach of the fence.
Fix small gaps the day you find them. A gap that is ignored today is the entry point someone uses next month.
Gaps, gates, and transitions are where fences fail. Budget time and materials for these details, not just for the panels, and inspect them more often than the straight runs.
Step 6: Conduct Regular Perimeter Fence Inspection and Maintenance
A perimeter fence inspection keeps small problems from becoming breaches. Check the fence line monthly and after any storm.
Look for these issues:
- Loose or missing fixings
- Rust spots, especially at welds and cut edges
- Sagging panels or leaning posts
Fix small faults right away. A loose bolt today is a removed panel next month.
Keep a simple log of each inspection with the date, fault, and fix. That record helps with insurance claims and shows a court you took security seriously.
Step 7: Layer Anti-Climb Fencing with Detection and Deterrents
No fence works alone. A layered system catches what the fence slows down.
Add these layers where your risk check calls for them:
- Lighting along the fence line, aimed to remove dark pockets
- Cameras at gates and corners, the most common breach points
- Motion sensors that alert a guard or owner
Fencing buys time and detection uses it, turning a fence line into a real security perimeter.
That is the full system: assess, specify, prepare, install, close the gaps, inspect, and layer.
Securing a perimeter takes planning, the right panels, and a lasting maintenance habit. Fence Company Lincoln installs anti-climb fencing for commercial and residential sites, handling every project from design to completion with our own crew.
Frequently Asked Questions
What does an anti-climb fence look like?
Anti-climb fencing typically features a tight welded wire mesh with small apertures, often 3 inches by 0.5 inches or smaller, and a smooth, non-gripable surface. The panels have no handholds or footholds, and the wire is usually galvanized or powder-coated for corrosion resistance. Common styles include 358 security fence panels and welded wire mesh designs that present a flat, unbroken face to deter climbing.
How should anti-climb fencing be installed to prevent climbing?
Anti-climb fence installation requires setting posts deep enough to resist leverage, typically below the frost line, and aligning panels so there are no gaps at the base or between sections. Use tamper-resistant fixings and ensure the fence sits flush with the ground or on a concrete curb to eliminate footholds. For fence gap security, fill any space under gates or at corners with concrete or additional mesh.
How often should anti-climb fencing be inspected?
A perimeter fence inspection should be done at least quarterly for commercial or high-security sites, and after any severe weather event. Check for loose posts, damaged mesh, corrosion, and gaps that could be exploited. Regular inspection and maintenance extend the fence's lifespan and ensure breach resistance remains effective. Keep a log of inspections to track issues over time.
Can you add a security topping to an existing fence?
Yes, you can add security toppings like barbed wire, electric fence wires, or rotating spikes to an existing fence, but check local codes and safety regulations first. Some jurisdictions restrict barbed wire or electric fencing in residential areas. For a climb-resistant design, a topping can enhance perimeter protection, but it must be installed securely and integrated with the existing fence structure to avoid creating new weak points.