 listicle
5 Ways to Prepare Your Yard for Fence Installation
Table of Contents
- 1. Mark Property Boundaries and Review Fence Installation Property Line Regulations
- 2. Call 811: How to Mark Underground Utilities Before You Dig
- 3. Clear the Fence Line: Site Clearance and Obstacle Removal
- 4. Plan for Post Holes: How Deep Should Fence Posts Be Buried?
- 5. Budgeting and Cost-Saving Prep for Your Fence Installation
- Post-Installation Maintenance and Seasonal Considerations
- Frequently Asked Questions
Last Updated: September 20, 2026
1. Mark Property Boundaries and Review Fence Installation Property Line Regulations
The most expensive mistake in fence installation happens before a single post hole is dug: building in the wrong place. A fence is a permanent structure, and property line disputes, zoning violations, or HOA fines can force you to tear it down and start over. This guide from Fence Company Lincoln covers the five preparation steps that separate a smooth project from a costly one, starting with the step most homeowners rush.
How to Find Your Property Lines
Start with your deed and plat map, then check for physical markers. Survey stakes and property markers often sit buried under grass or brush.
Zoning, HOA Rules, and Permits
Before you buy materials, confirm three things: fence height restrictions, setback requirements, and whether you need a building permit. Zoning ordinances and HOA guidelines often cap front-yard fences lower than backyard ones. Most jurisdictions require a permit for anything over six feet, and some require one for any fence at all. Check with your local planning office and your HOA board in writing, and keep the approval on file.
guidance on local building permits and zoning
2. Call 811: How to Mark Underground Utilities Before You Dig
Call 811 at least two to three business days before you dig. This free service, run through the national 811 call before you dig program, dispatches utility locating crews to mark underground utilities on your property. Digging without it risks hitting a gas, electric, or water line, and in most states it is a legal requirement, not a suggestion.
What Happens After You Call 811
811 Call Before You Dig official service
Hand-dig within two feet of any marked line. Never use a power auger near flagged utilities.
3. Clear the Fence Line: Site Clearance and Obstacle Removal
Site clearance means removing everything in the fence's path before installation day: brush, tree roots, old posts, rocks, and landscaping obstacles. This is the step that sets your project timeline, because clearing always takes longer than homeowners expect. A fence line that looks clear from the kitchen window usually hides root mats, buried footings, and irrigation lines just below the surface.
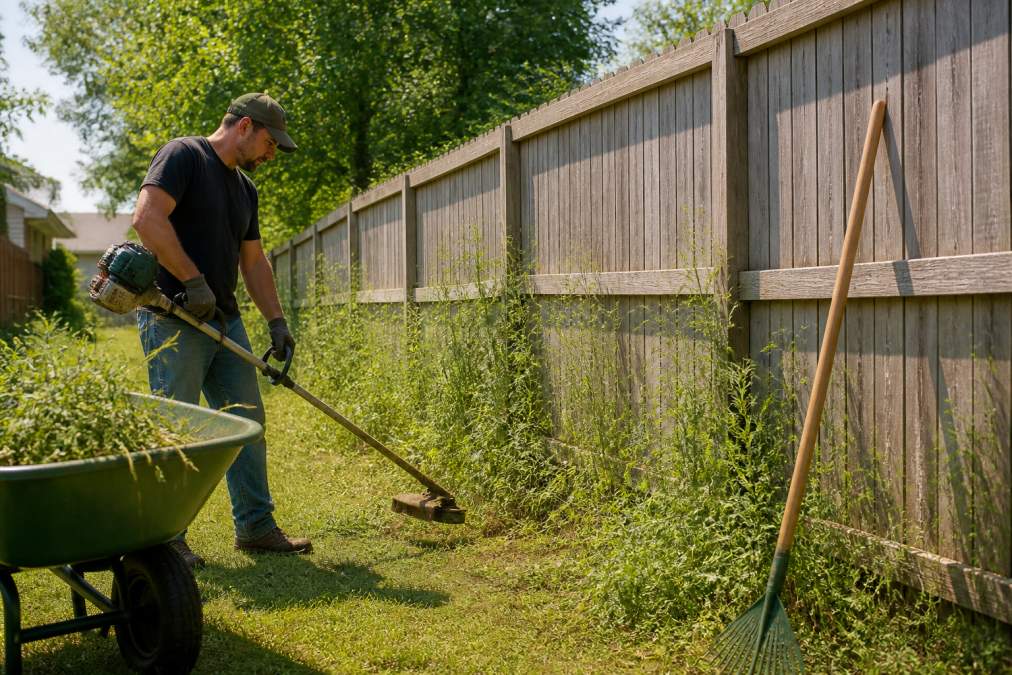
Walk the Line Before You Cut Anything
Walk the entire installation path first and flag every obstruction with marking paint. Old fence posts, buried concrete footings, and thick roots all need removal before digging begins. Probe the ground with a steel rod or long screwdriver every few feet, a common pattern is that old footings sit just below the grass line, and a post hole digger will bind on them mid-dig.
What Actually Slows a Project Down
- Old concrete footings. These are the single biggest time sink. A footing can be a 50-pound bag's worth of concrete or more, and it must be broken out with a sledgehammer or pry bar before a new hole can be dug in that spot.
- Tree roots. Surface roots can be cut with a reciprocating saw, but roots thicker than a few inches may require an arborist's opinion if the tree is one you want to keep. Cutting major structural roots can destabilize a mature tree.
- Irrigation and landscape lighting. These run shallow, often just a few inches down, and are not always marked by 811. Trace your own sprinkler and low-voltage lighting lines before digging.
- Buried debris. Construction rubble, old brick edging, and scrap metal are common in older yards and will stop a power auger cold.
Tools for Efficient Clearing
- String trimmer for tall grass and weeds along the path
- Reciprocating saw for roots, old posts, and metal debris
- Post hole digger for clearing loose soil and small rocks
- Marking paint to flag the exact fence line and post locations
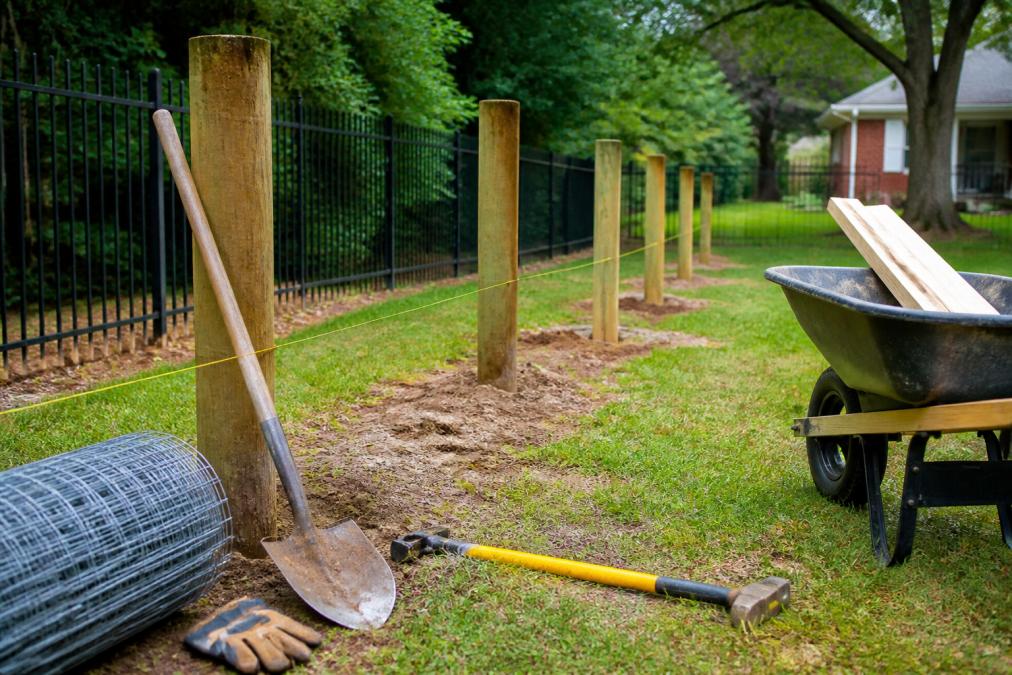
- Wheelbarrow for hauling debris away
- Steel probe or long screwdriver to find buried footings before you dig
Debris Removal and Disposal
Debris removal is where budgets quietly blow up. A rented dumpster or a few trips to the transfer station solves it, but plan for the cost. Concrete footings are heavy and often charged by weight, so separate them from green waste. Many municipalities run separate yard-waste and construction-debris streams, and mixing them can mean a rejected load and a second trip.
Site Clearance and Grading
Clearing is also your chance to fix drainage. If the ground along the fence line slopes toward your house or pools in low spots, address it now, a fence installed across a drainage path can dam water against a foundation. Regrade so water flows away from structures, and note any low spots where posts may sit in standing water after a storm.
4. Plan for Post Holes: How Deep Should Fence Posts Be Buried?
The general rule is simple: bury one-third of the post's above-ground height. A six-foot fence needs posts set about two to three feet deep. This is the single biggest factor in whether your fence stands straight for decades or starts leaning within a year.
The Frost Line and Your Posts
In cold climates, post holes must extend below the frost line, the depth to which ground freezes in winter. Frost heave lifts shallow posts out of the ground, which is why fences built without frost-depth footings lean and warp after a few winters. Set posts in concrete, and crown the concrete slightly above grade so water runs off instead of pooling at the base.
5. Budgeting and Cost-Saving Prep for Your Fence Installation
Doing the prep work yourself is the biggest cost saver in the entire project. Clearing the line, removing old fencing, and confirming permits before crews arrive can cut labor hours significantly, and labor is where most of your money goes.
| Prep Task | Who Can Do It | Cost Impact |
|---|---|---|
| Call 811 and mark utilities | Homeowner | Free; avoids repair bills |
| Clear brush and debris | Homeowner or crew | Reduces labor hours |
| Remove old fence and footings | Homeowner or crew | Avoids disposal fees |
| Confirm permits and HOA approval | Homeowner | Prevents fines and rework |
| Set post depth and concrete | Professional | Protects the whole investment |
Post-Installation Maintenance and Seasonal Considerations
Most guides stop at installation day. The prep decisions you make before the first post goes in, drainage, soil treatment, and seasonal timing, determine whether the fence stays straight for decades or starts leaning within a few years. This section covers the long-term angle the other guides skip.
Prep the Ground for Long-Term Fence Health
A fence fails from the bottom up. Water is the enemy: it softens the soil around posts, accelerates rot in wood, and corrodes metal hardware. Before installation, address three things:
- Drainage. Make sure the fence line does not block the natural flow of surface water. If a swale or runoff path crosses the fence line, install a French drain or gravel-filled trench beneath the fence so water passes through instead of damming against it.
- Soil treatment. In areas with clay-heavy or poorly draining soil, amend the backfill around posts with gravel or crushed stone so water drains away from the post instead of sitting against it. Wood posts benefit from a gravel base layer below the concrete.
- Grade and slope. Posts set on a slope need to be stepped or set at varying depths so the fence follows the terrain without gaps at the bottom. A fence that floats above the ground on a slope invites animals underneath and looks unfinished.
Seasonal Timing: When to Dig and When to Wait
Ground conditions change what prep looks like across the year.
- Winter and frozen ground. Digging frozen ground is slow, expensive, and can damage equipment. If you must install in winter, crews often use steam or heated water to thaw post holes, which adds cost. Frost depth also matters: post holes must extend below the local frost line, or frost heave will lift posts out of the ground over a few winters.
- Spring and wet, muddy ground. Installing in heavy spring rain can leave posts set in soupy soil that never compacts properly. Concrete poured into saturated ground can also be weakened by excess water. Wait for a stretch of moderately dry weather, or expect to pump out post holes before pouring.
- Summer and dry, hard ground. Dry clay soil can be nearly as hard as frozen ground. Soaking the post locations a day or two ahead of digging softens the soil and speeds the work.
- Fall. In many regions, late summer and early fall offer the best combination of workable ground and off-peak scheduling. Spring and early summer are peak season for fence crews, and booking in the off-season often means faster scheduling and more flexibility on timing.
Maintenance by Material
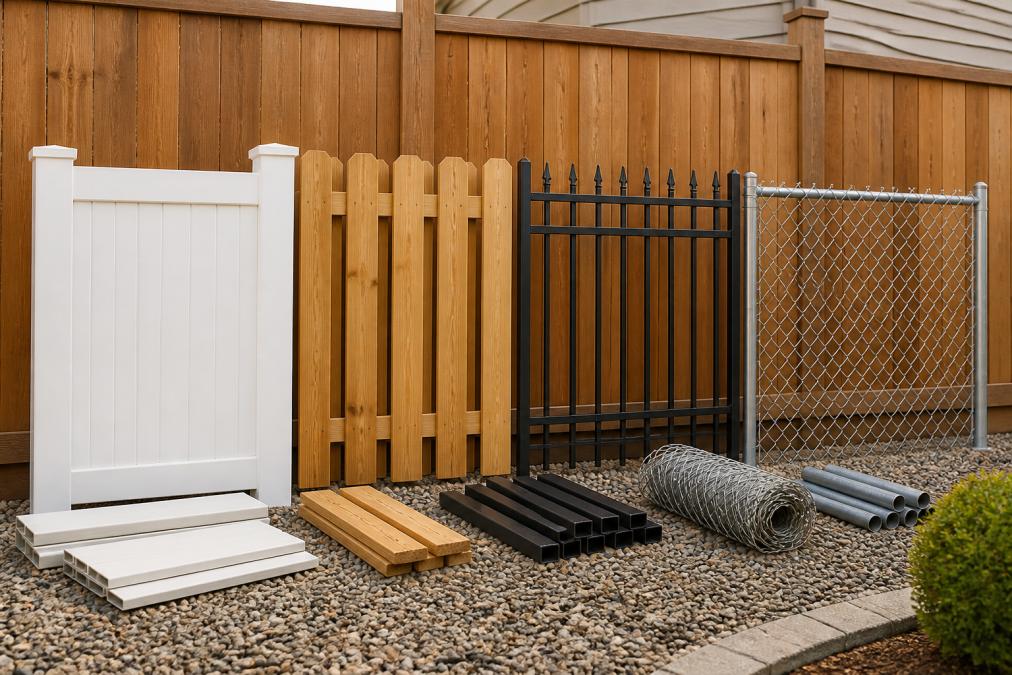
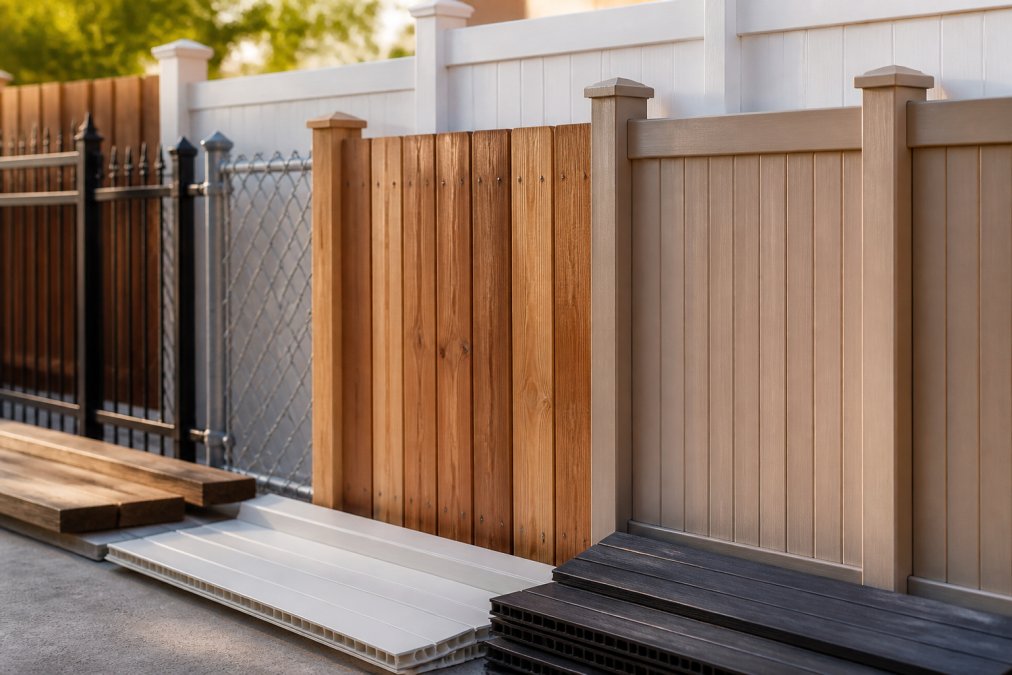
For homeowners who would rather not manage any of this, Fence Company Lincoln handles the full process from design to completion without subcontractors, with licensed, insured, and bonded crews. The company has more than 30 years of experience installing vinyl, wood, chain link, and iron fencing, and offers a price matching policy for added value.
Frequently Asked Questions
Do I need to clear my property line before fence installation?
Yes, clearing the fence line is a crucial prep step. Remove debris, vegetation, and obstacles to create a clear path for digging and installation. This prevents damage to tools, ensures accurate post placement, and reduces the risk of injuries. It also makes the job faster for any crew you hire.
How do I mark underground utility lines before digging?
Call 811, the national call-before-you-dig service, at least a few business days before digging. Provide your address and project details. Utility companies will mark underground lines with flags or paint for free. This is required by law in most states and prevents costly damage to gas, electric, and water lines.
What are common fencing mistakes to avoid?
Common mistakes include skipping the 811 call, ignoring property lines, not checking local zoning or HOA rules, and digging post holes too shallow. Also, avoid clearing the fence line without proper tools, and always confirm you have necessary permits. These oversights can lead to fines, neighbor disputes, or a fence that fails prematurely.
Should fence posts be set in concrete or dirt?
The choice depends on soil, climate, and fence type. Concrete provides strong, long-lasting support, especially in areas with loose or sandy soil, and helps prevent rot at the base. However, in regions with freeze-thaw cycles, concrete can crack. Many professionals set posts in concrete for durability, but always follow local best practices.
How deep should fence posts be buried?
As a rule, bury posts one-third to one-half of their above-ground height. For a 6-foot fence, dig holes 2 to 3 feet deep. In areas with a deep frost line, go below it to prevent heaving. Local codes may specify depths, so check with your building department or a professional installer.